Django는 admin 페이지를 기본으로 제공한다
admin 페이지를 활용하기 위해 계정을 만들어보자 !
superuser 생성하기
1. project와 app을 생성한다
2. app / models.py에 class를 정의한다
from django.db import models

# Create your models here.
class Articles(models.Model):
    title = models.CharField(max_length=10)
    content = models.TextField()

    updated_at = models.DateTimeField(auto_now=True)
    created_at = models.DateTimeField(auto_now_add=True)
3. 계정 만들기
터미널에 python.manage.py createsuperuser 를 실행

원하는 ID 와 이메일(아무거나) 비밀번호를 작성한다.
비밀번호 1234했더니 너무 짧다고 경고하는데 그냥 사용한다고 y 입력하면 된다.
4. runserver로 실행
http://127.0.0.1:8000/admin/으로 들어가면 로그인창이 뜬다
생성한 슈퍼유저로 로그인하면 관리자용 페이지에 접속할 수 있다.
관리자 페이지에 class 추가하기
1. app / models.py에 class를 추가
from django.db import models

# Create your models here.
class Articles(models.Model):
    title = models.CharField(max_length=10)
    content = models.TextField()

    updated_at = models.DateTimeField(auto_now=True)
    created_at = models.DateTimeField(auto_now_add=True)
2. app / admin.py에 생성한 class 추가
from django.contrib import admin
from .models import Articles
# Register your models here.

admin.site.register(Articles)
3. runserver - admin 로그인
추가한 model class가 관리자 페이지에 생성된 것을 확인할 수 있다
관리자 페이지에서 직접 object를 작성할 수 있음
object가 보이는 페이지 만들기
1. app / views.py를 수정
from django.shortcuts import render
from .models import Articles

# Create your views here.
def index(request):
    articles = Articles.objects.all()
    context = {
        'articles': articles
    }
    return render(request, 'myapp/index.html', context)
2. urls.py에 path추가
from django.contrib import admin
from django.urls import path, include

urlpatterns = [
    path('admin/', admin.site.urls),
    path('myapp/', views.index),
]
3. index.html 생성
👇🏻👇🏻상속 참고 링크
https://peach-hzz.tistory.com/129
[Django] 하나의 html을 여러 App에서 돌려쓰기
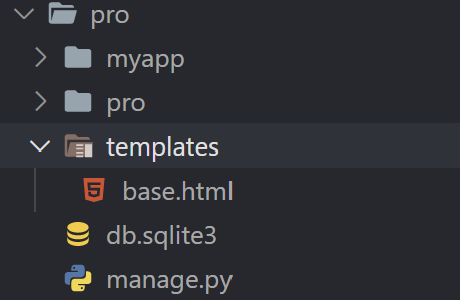
1. Project 안에 templates 폴더를 만든다 기존의 app아래 templates가 아닌, project안 / app 밖에 만들어야함 2. Project의 setting.py 를 수정 3. 필요한 곳에서 'base.html'을 사용하면 된다
peach-hzz.tistory.com
- base.html
block 안에 base.html을 상속받는 html 내용이 들어오게 된다.
<!DOCTYPE html>
<html lang="en">
<head>
    <meta charset="UTF-8">
    <meta http-equiv="X-UA-Compatible" content="IE=edge">
    <meta name="viewport" content="width=device-width, initial-scale=1.0">
    <title>Document</title>
</head>
<body>
    {% block content %}

    {% endblock content %}

</body>
</html>
base.html을 상속받는 index.html을 생성
- index.html
{% extends "base.html" %}

{% block content %}
    <h1>Articles</h1>
    <hr>
    {% for article in articles %}
        <p> 글 번호 : {{ article.pk }}</p>
        <a href="{% url 'myapp:detail' article.pk %}">
            <p> 글 제목 : {{ article.title }}</p>
        </a>
        <p> 글 내용 : {{ article.content }}</p>
        <hr>
    {% endfor %}
    <a href="{% url 'myapp:new' %}">NEW</a>
{% endblock content %}
4. runserver - /myapp/ url에 접속
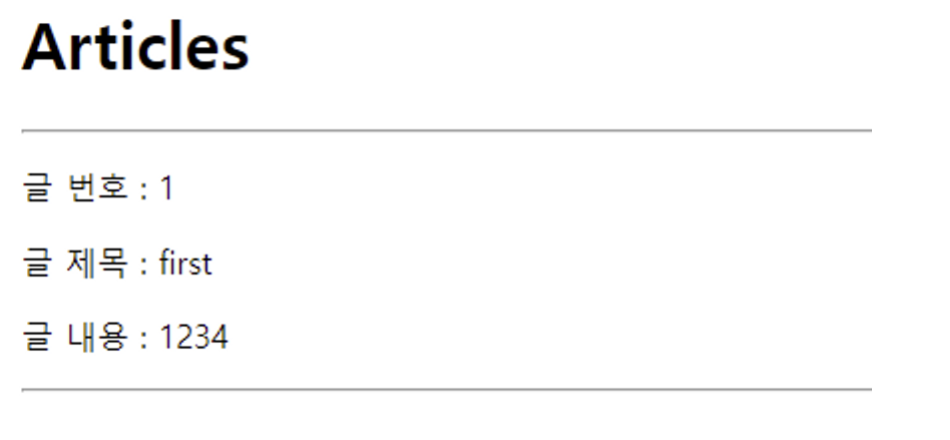
odject로 작성한 내용이 잘 나온것을 확인
CRUD 할 준비 완료 !
'django' 카테고리의 다른 글
| [Django] CRUD - CREATE (0) | 2023.03.25 |
|---|---|
| [Django] Model (0) | 2023.03.25 |
| [Django] HTML form ( HTTP / 데이터 전송 / 데이터 받기) (0) | 2023.03.25 |
| [Django] App URL mapping (0) | 2023.03.25 |
| [Django] 하나의 html을 여러 App에서 돌려쓰기 (0) | 2023.03.15 |